Custom 18650 Battery Holder
Custom 18650 Battery Holder for My Autonomous Vehicle Project
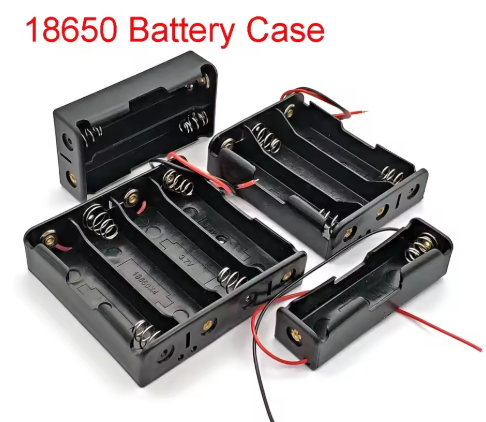
When working with 18650 batteries, I realized that length variations caused by protection circuits make off-the-shelf holders unreliable. Some batteries fit too tightly, while others are nearly impossible to remove. To solve this, I decided to design and print my own holder.
Why I Built My Own
- Off-the-shelf holders didn’t match the dimensions of my batteries.
- Inconsistent fit made insertion and removal frustrating.
- I needed a solution tailored to my project’s mounting holes and layout.
- Another critical factor was wire gauge (AWG). Most commercial holders use very thin wires, which are not suitable for higher current applications. I wanted to work with AWG 20 or thicker wiring to ensure lower resistance, better durability, and safer operation.
Design Process
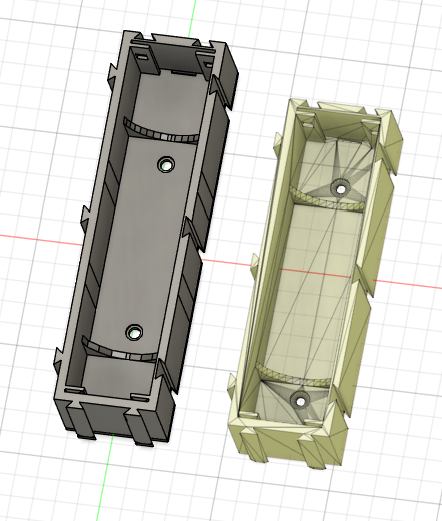
- Mesh to Solid Conversion
I imported an STL file into Fusion 360 and converted the mesh into a solid body. - Length Adjustment
Extended the holder dimensions to accommodate protected 18650 cells. - Mounting Alignment
Modified the CAD model to match the exact hole spacing of my setup. - 3D Printing
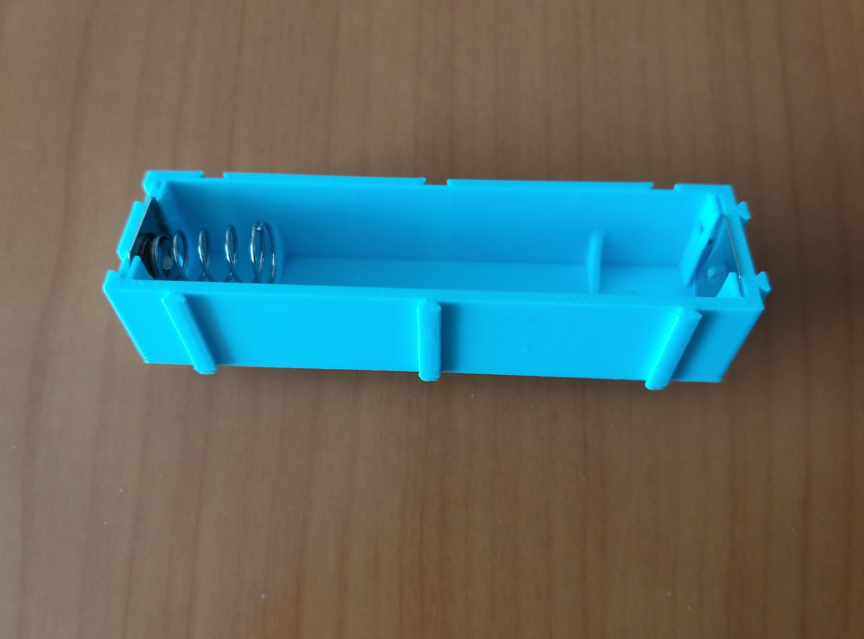
Printed the customized design and tested the fit.
Hardware Choices
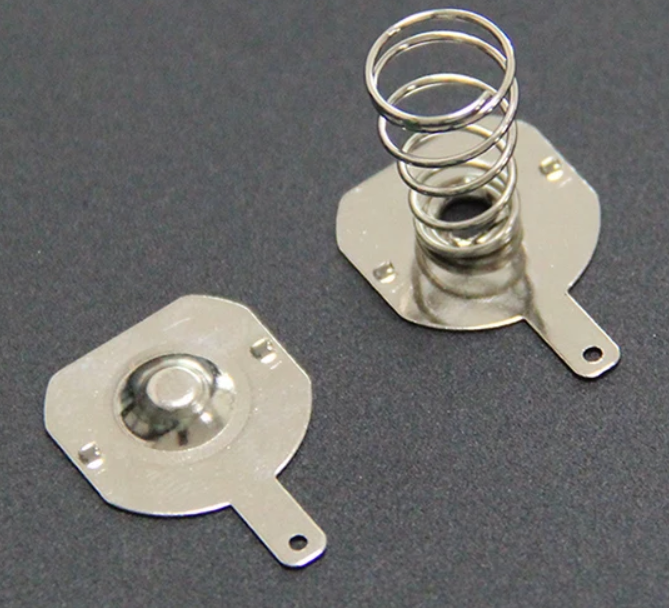
- Metal Clips: I invested in sturdy, wide clips for reliable electrical contact.
- Spring & Dome Contacts: Used a combination of spring (negative) and dome (positive) terminals for secure connections.
- Durability Over Cost: Even though the clips were slightly more expensive, the improved stability was worth it.
Assembly & Expansion
The holder includes interlocking walls that allow expansion. However, interlocks alone don’t provide strong fixation, so additional reinforcement is necessary:
- Small screws or bolts for rigid attachment.
- Optional brackets or adhesive for added stability.
Electrical Considerations
- Properly finished bottom wiring with heat-shrink tubing for insulation.
- Use of bus bars or thicker copper strips to handle higher current safely.
- Ensuring consistent contact pressure to withstand vibration.
Application
This custom holder was designed and mounted for my autonomous vehicle project. By tailoring the design, I achieved:
- Secure battery placement.
- Reliable electrical connections.
- A modular system that can expand when needed.
Building this holder taught me that sometimes custom fabrication is the only way to achieve both precision and reliability. It’s a small but crucial step toward powering my autonomous vehicle safely and efficiently.